What Google Sheets Triggers and Actions are Supported?
Supported Triggers
- New Worksheet - Triggered when you create a new worksheet in a spreadsheet.
- New or Updated Spreadsheet Row - Triggered when a new row is added or modified in a spreadsheet.
- New Spreadsheet - Triggered when you create a new spreadsheet.
- New Spreadsheet Row - Triggered when a new row is added to the bottom of a spreadsheet.
Supported Actions
- Create Spreadsheet Row(s) - Create one or more new rows in a specific spreadsheet (with line item support).
- Create Spreadsheet Column - Create a new column in a specific spreadsheet.
- Delete Spreadsheet Row - Deletes the content of a row in a specific spreadsheet. Deleted rows will appear as blank rows in your spreadsheet. Please use with caution.
- Create Spreadsheet - Create a blank spreadsheet with a title. Optionally, provide headers.
- Create Spreadsheet Row - Create a new row in a specific spreadsheet.
- Update Spreadsheet Row - Update a row in a specific spreadsheet.
Supported Searches
- Lookup Spreadsheet Row - Finds a row by a column and value. Returns the entire row if one is found.
How to Get Started with Google Sheets on Zapier
About the Google Sheets Integration
- Admin/owner permissions: For triggers and search steps, View Only access to the spreadsheet is sufficient. For create/update actions, you must have full Edit permissions.
- Paid/versioned account: Any version of a Google account can be used with Google Sheets.
- Note: If you use a Google Sheets trigger, you should always turn your Zap OFF before making changes to your spreadsheet, and only turn it back on when you're finished changing the spreadsheet.
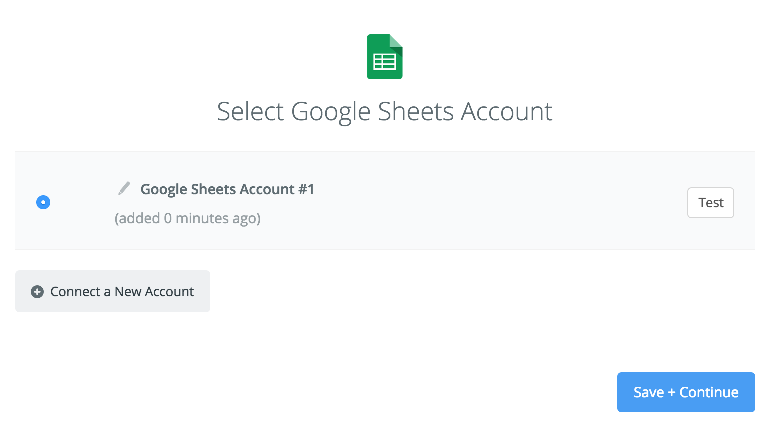
Connecting to Google Sheets
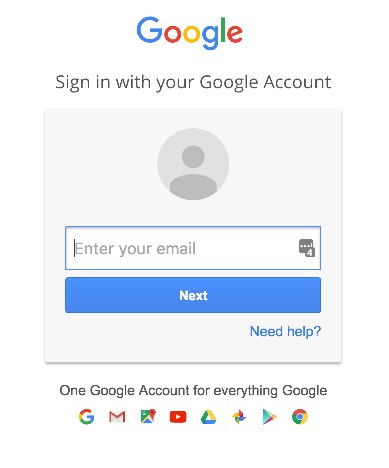
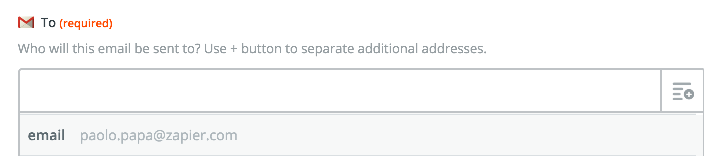
When creating a Google Sheets Zap, you will be asked to connect a new account: 
Click on that. You should then get a pop-up window from Google asking you to log-in to authorize the connection between that Google Sheets account and Zapier.
If you are already logged in to your Google account on your browser, you will be asked to approve access to Zapier.
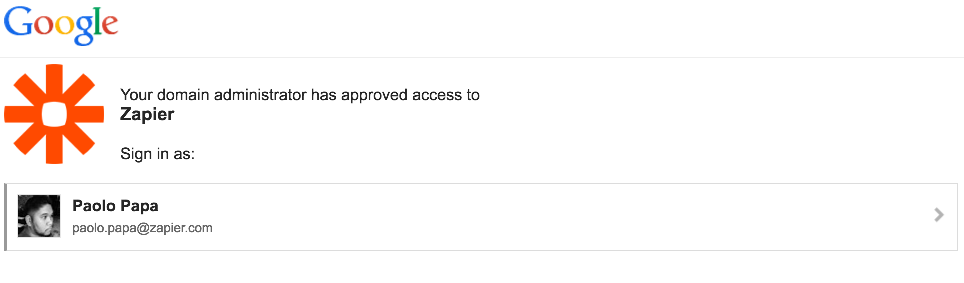
After logging in and approving access, you'll be returned back to your Zap and your Google Sheet account will now be successfully connected.
↑ Was this documentation useful? Yes No (Suggest Edits)
How to Set Up Your Google Sheet to Work with Zapier
To use Google Sheets with Zapier you need to set up your spreadsheet in a very specific way. If you don't set up your spreadsheet this way, you're likely going to have problems. Pay close attention.
These are the things you'll need from your Google Sheet to optimize it for use with a Zap:
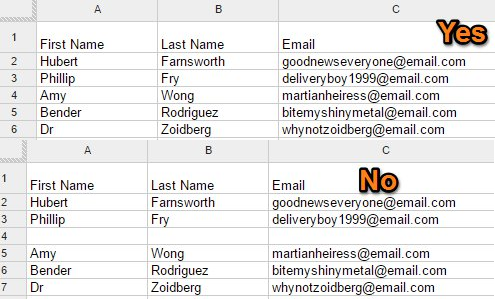
- The first row must have titles for any column headers you want to be able to see in your Zap.
- The second row must have content for any columns you want to be able to see in your Zap.
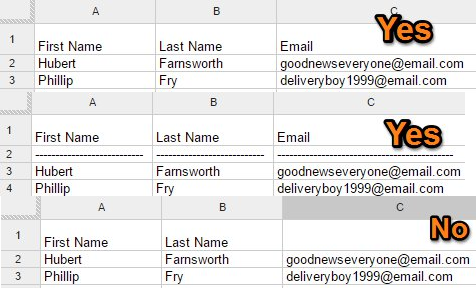
- There can be no completely blank rows before the end of your spreadsheet.
Other Google Sheets Zap Tips
- Zaps can only add rows to the end of the spreadsheet and not any other row.
- We recommend all your columns have text in the header/top row, but you must have text in the first column header, especially if you are using the Create Spreadsheet Row action. Without any text there, the Zap will send your data to the top of the sheet rather than to the bottom.
- Do not add or delete rows to your spreadsheet, especially in the middle of data your Zap has already recognized. This can cause errors with your Zap.
- If you are using the Updated Spreadsheet Row trigger, your Zap will trigger even if you update a column that you are not using in the action side of your Zap. Do Not Add New Columns.
- Editing your spreadsheet while a Zap is already live is a bit like trying to fix a leaky faucet with the water turned on. Needless to say, you're going to get wet. So if you plan on editing your spreadsheet, then Turn Off your Zap first!
Working with Google Sheets Fields When Editing a Template
For triggers, each column should be represented by a field you can select in your Zap
For actions, you should have a different action field available for each column
↑ Was this documentation useful? Yes No (Suggest Edits)
Finding/Updating Rows in Google Sheets
If you’re looking to update a row in Google Sheets, you will need to first insert a search action to find the row ID. Updating a row will not work without adding this step first unless you plan on updating the exact same row every time the trigger fires. Let's walk through how to do this.
Finding Rows
The first step here is to create a Zap and select your trigger app. For this example, let’s create a Zap that uses Eventbrite as the trigger that will update a sheet every time there is a new attendee to an event. This way, we can keep an up to date sheet of attendee contact information in a Google Sheet and track who is attending the event.
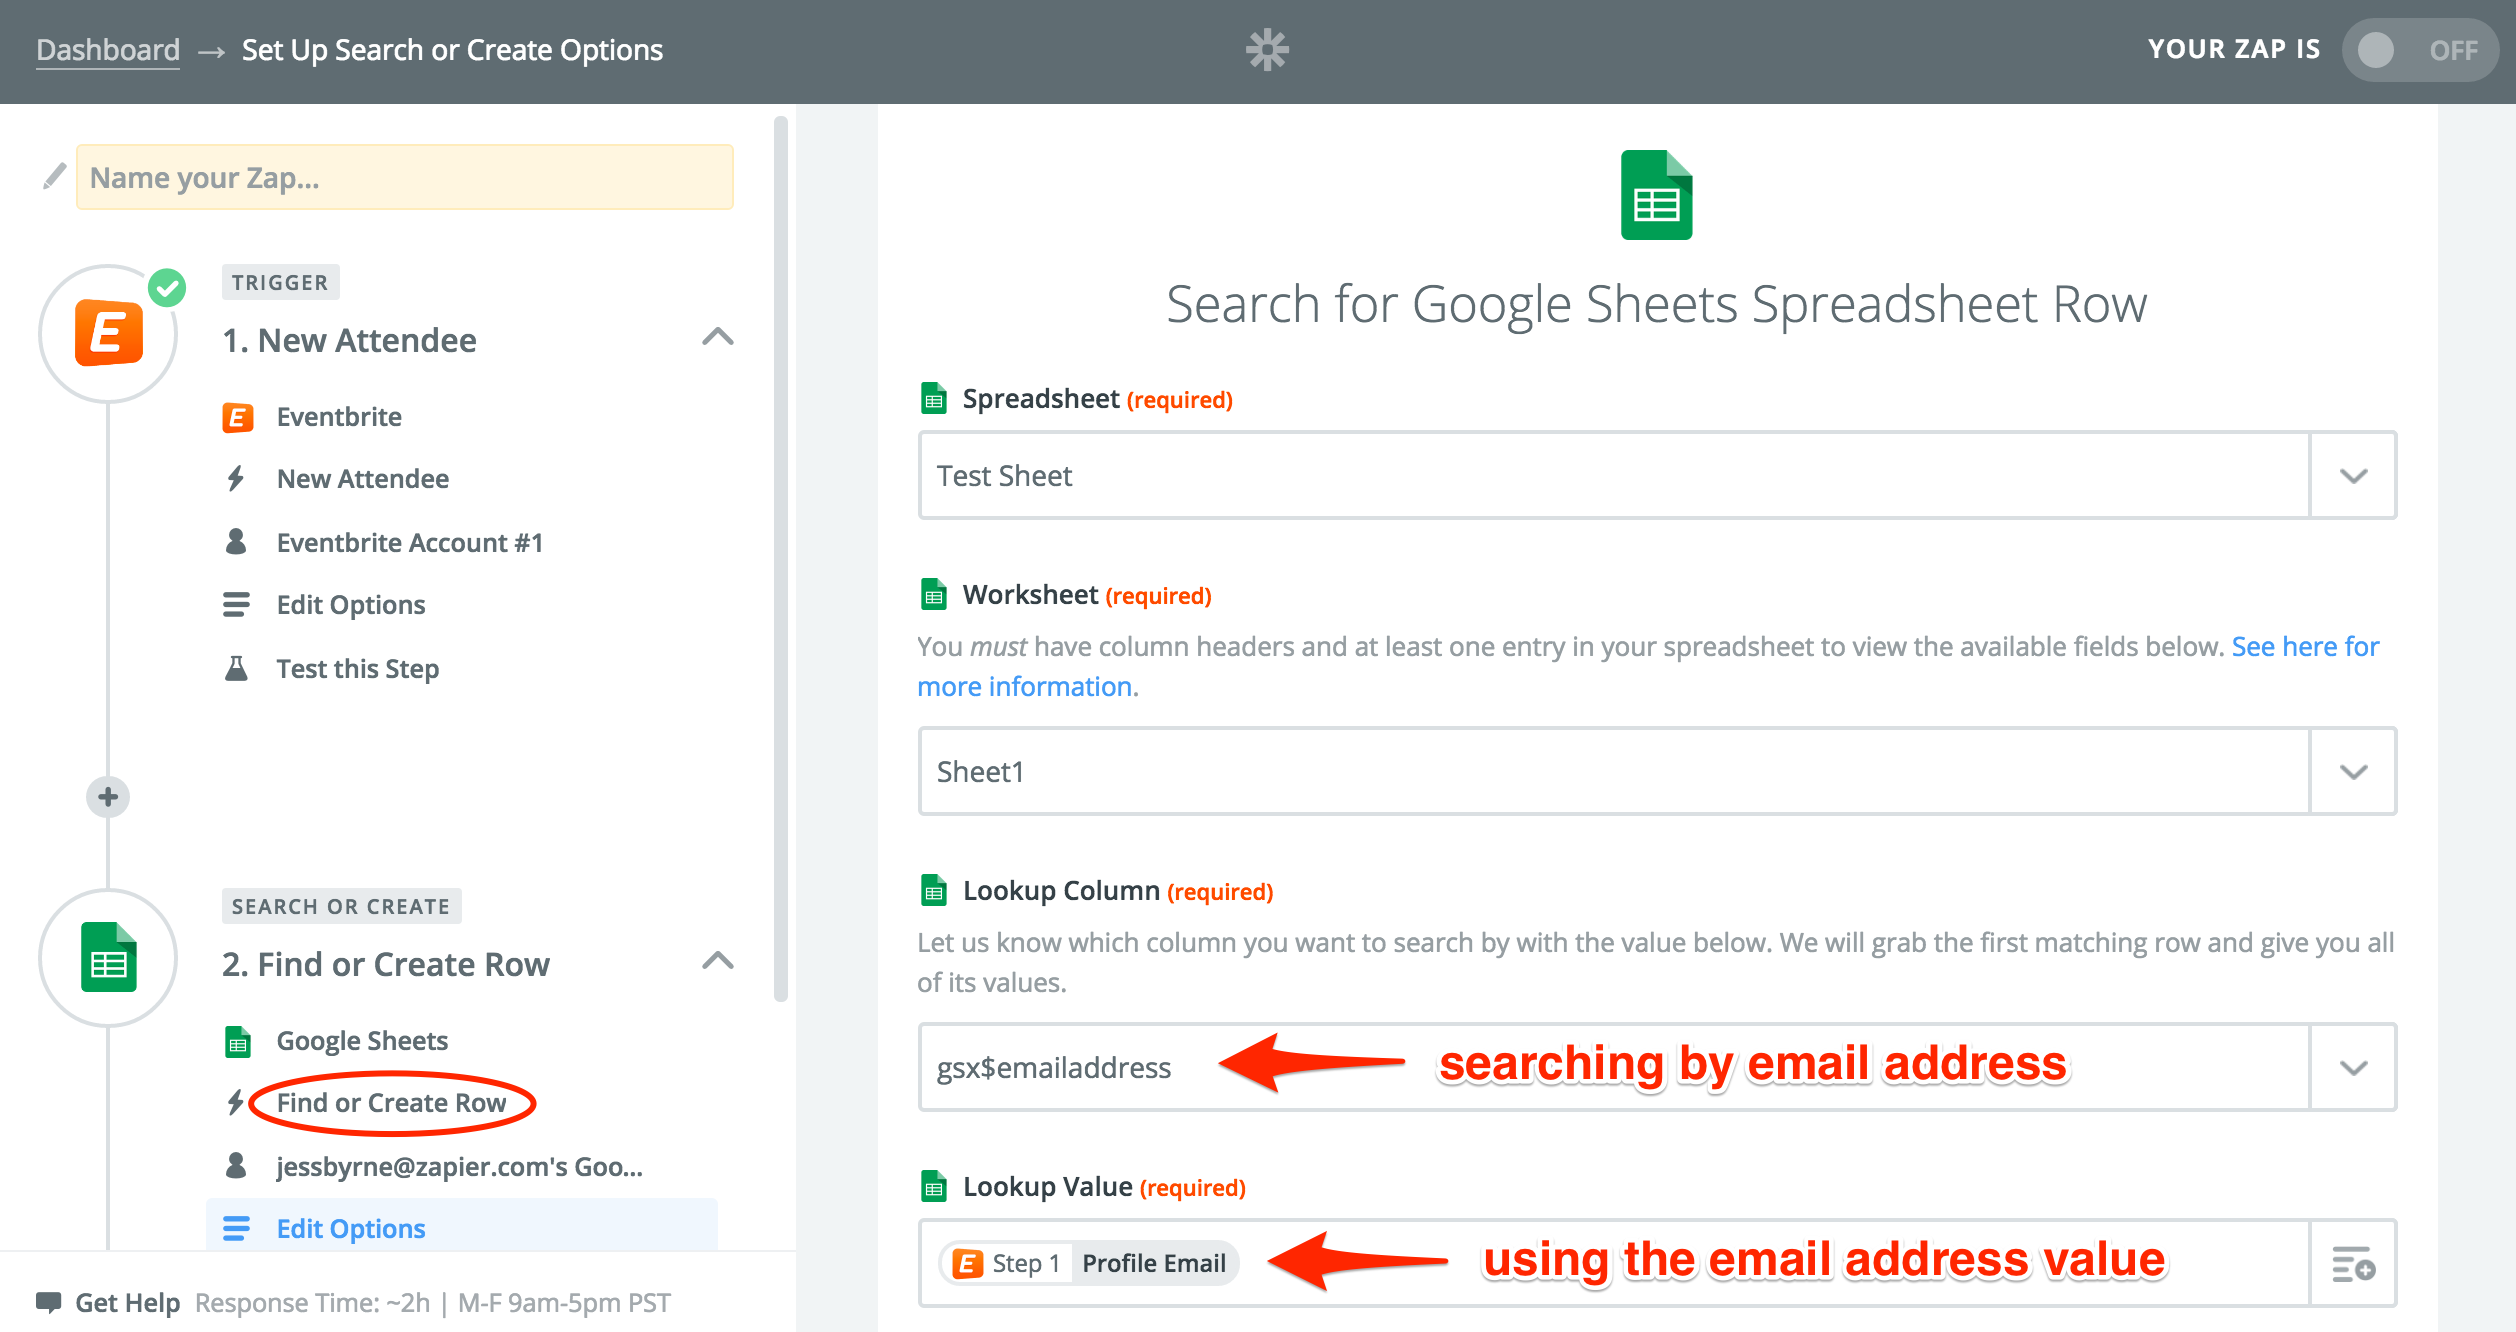
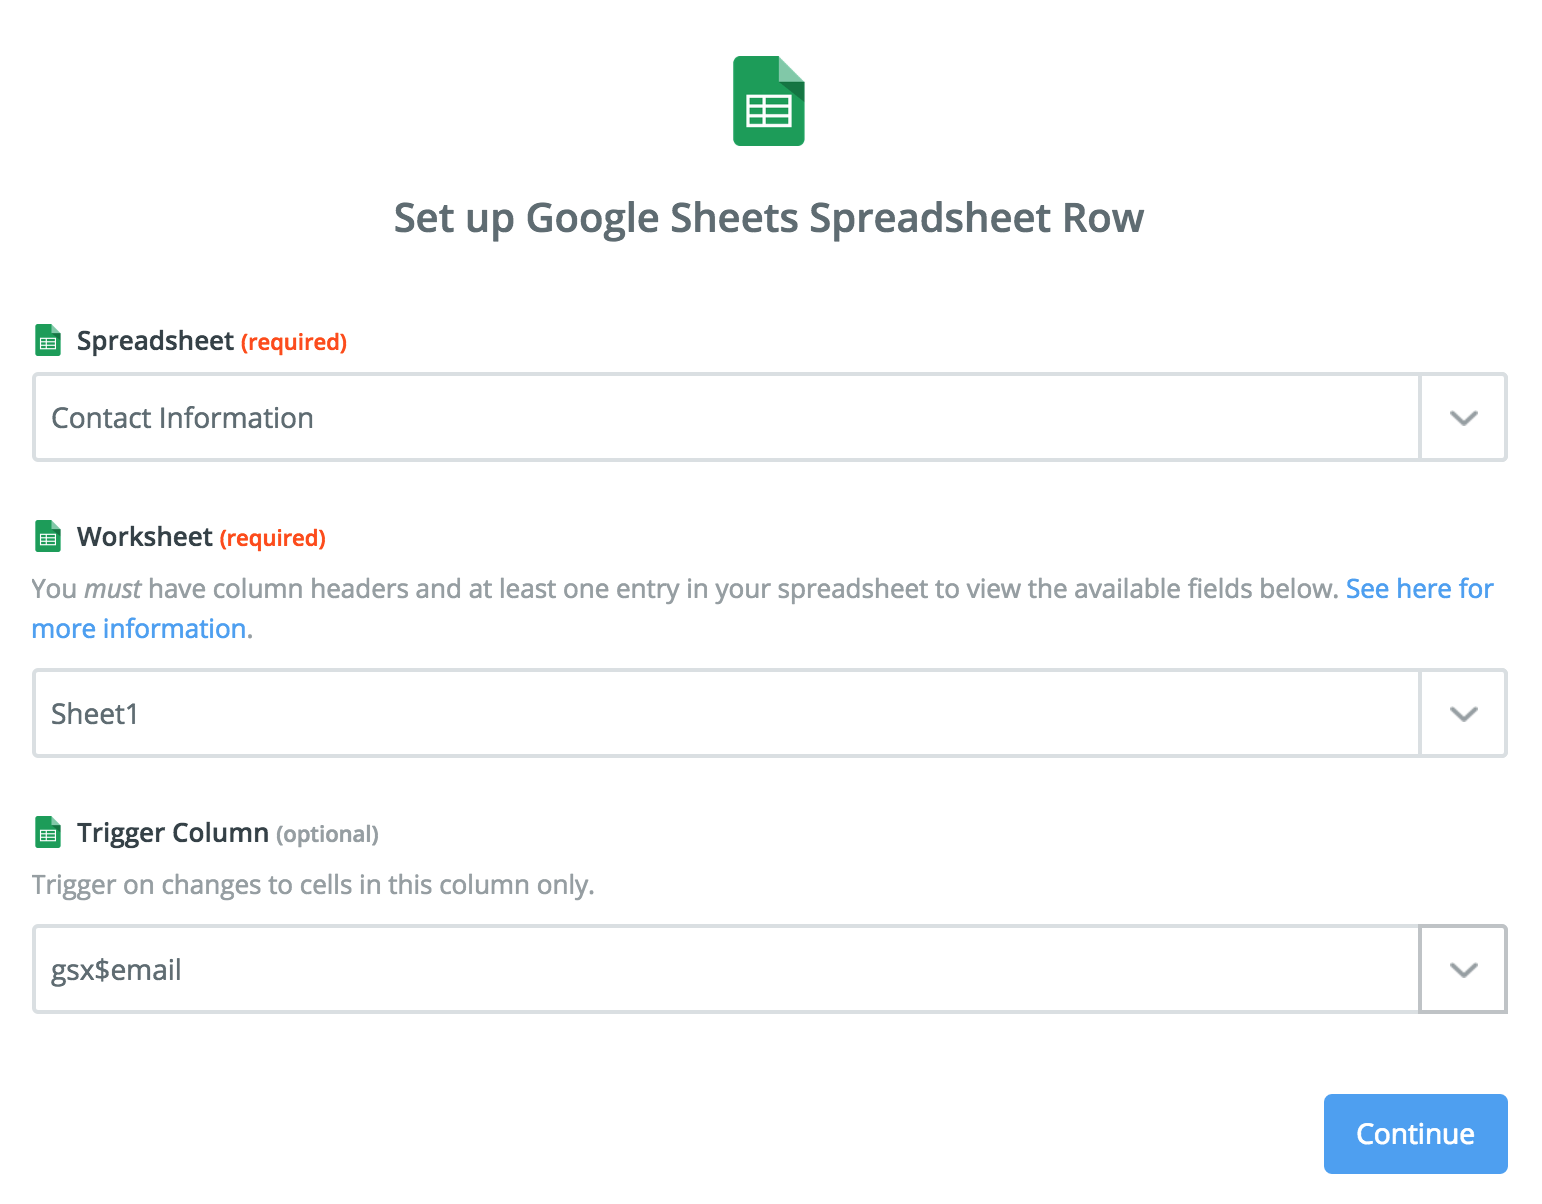
After setting up the trigger step, you’ll want to add a new step for Google Sheets and choose the "Lookup Spreadsheet Row,” action.
The “Lookup Value” field tells the Zap which data we are going to use from the trigger step to perform the search. For this example, we'll pick “Email" because we want to conduct a search using the email address of the attendee who registered for your event through Eventbrite.
In the “Lookup Column" section, you’ll need to choose which column you want to search by in the drop-down menu. In this case, we'll want to pick the “Email Address” column because we want to check if the email addresses of the Eventbrite Attendees match any of the email addresses in the “Email Address" column of our Google Sheet.
The idea here is that we want to use a value to scan through the spreadsheet with to see if any rows have a matching a matching value. If there is a match, the step will be successful and the Zap will move onto the next action step, with the ability to use data from the row that was found.
Note: If there are multiple matches, the Zap will return the first row it finds.
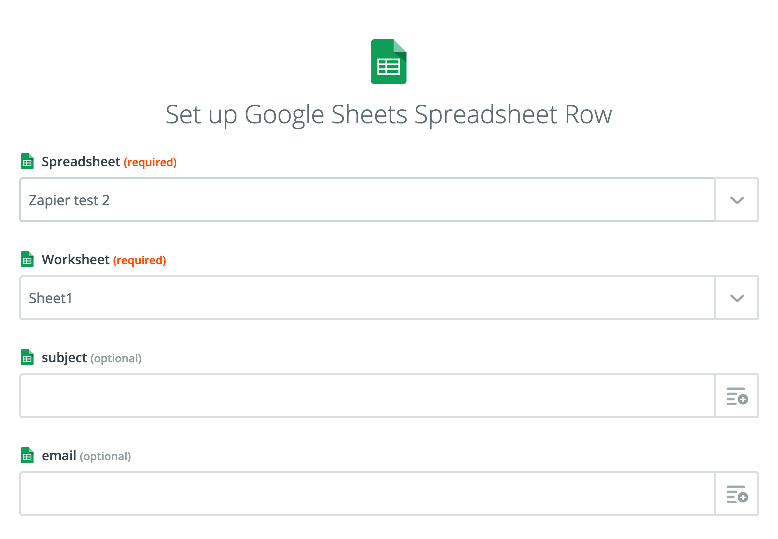
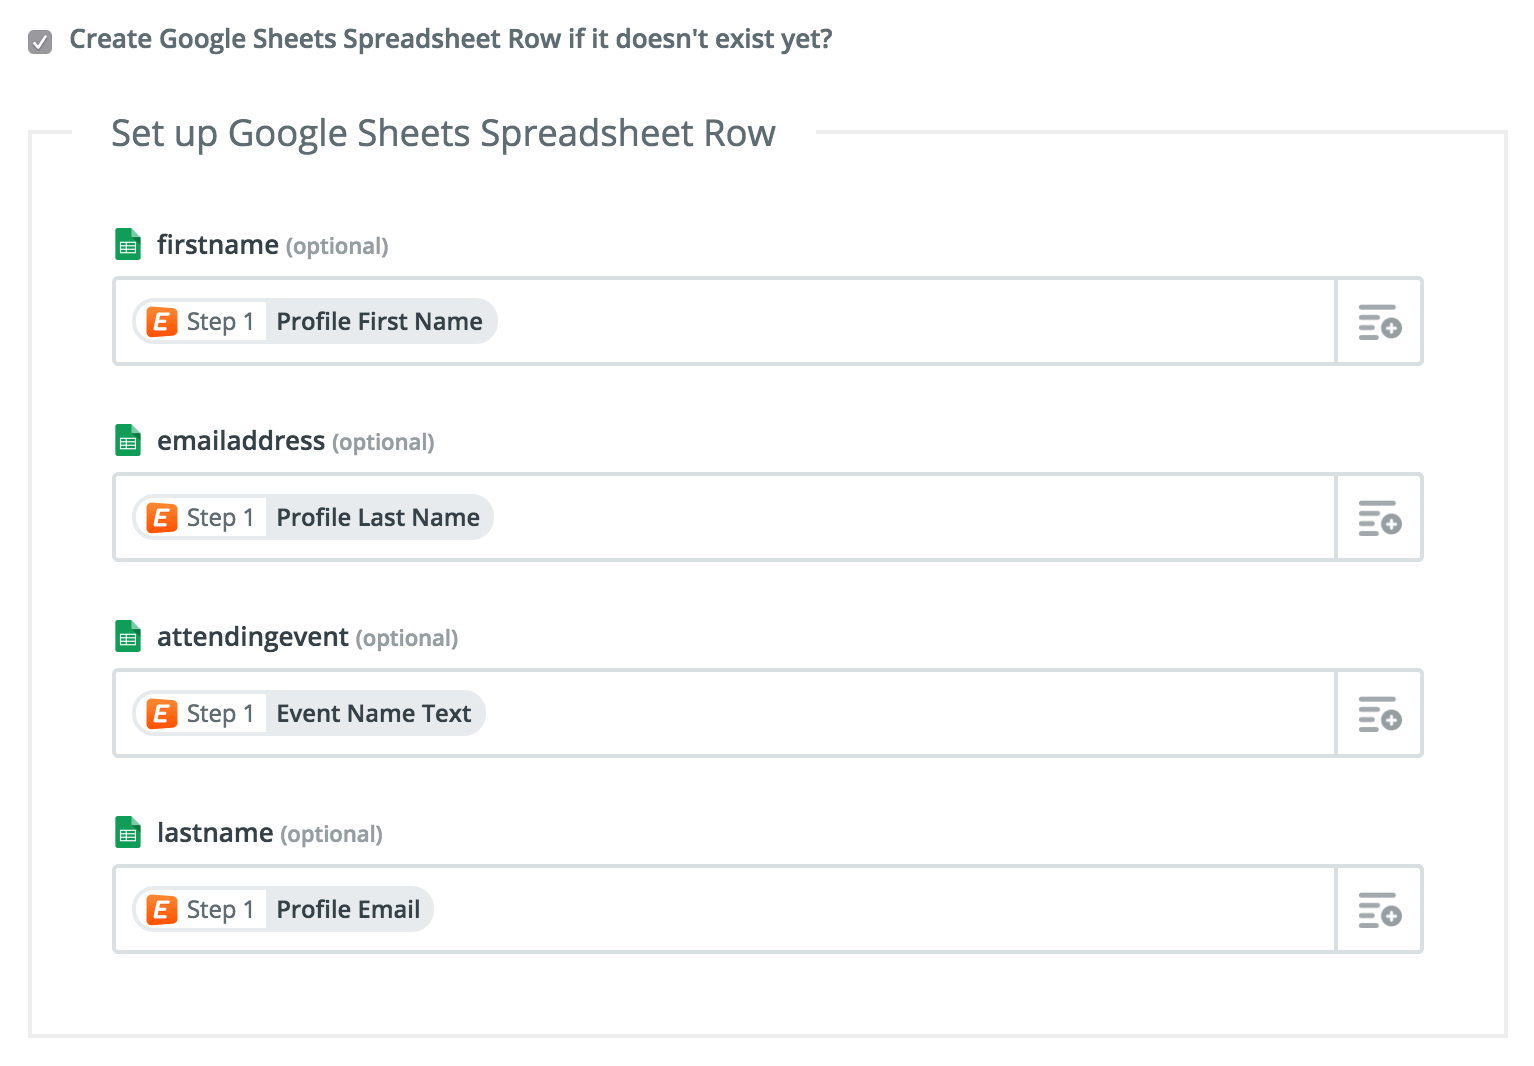
You'll finish up Step 2 by testing it to find a matching row. If the row likely won’t exist yet, you can check the "Create Google Sheets Spreadsheet Row if it doesn't exist yet?” box and then tell the Zap how the row should be created.
Updating Rows
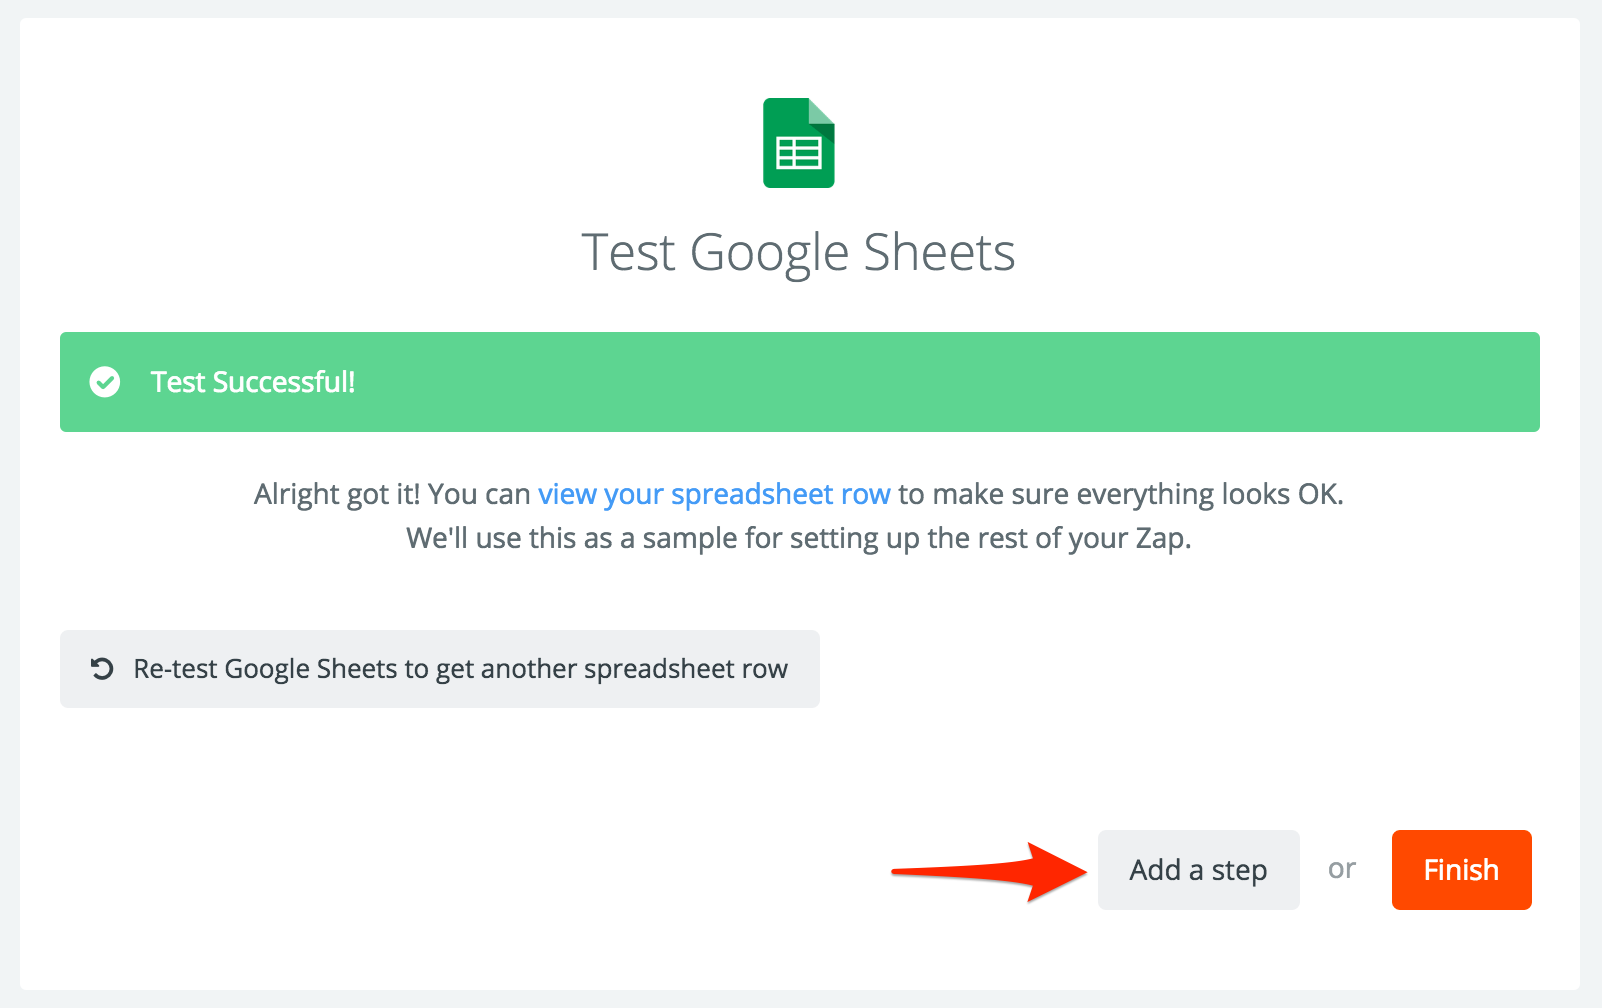
Now that the Zap has found your row, you’ll want to use the row ID that was returned to dynamically update records. You’ll want to click on the “Add a step” button to create another step in your Zap.
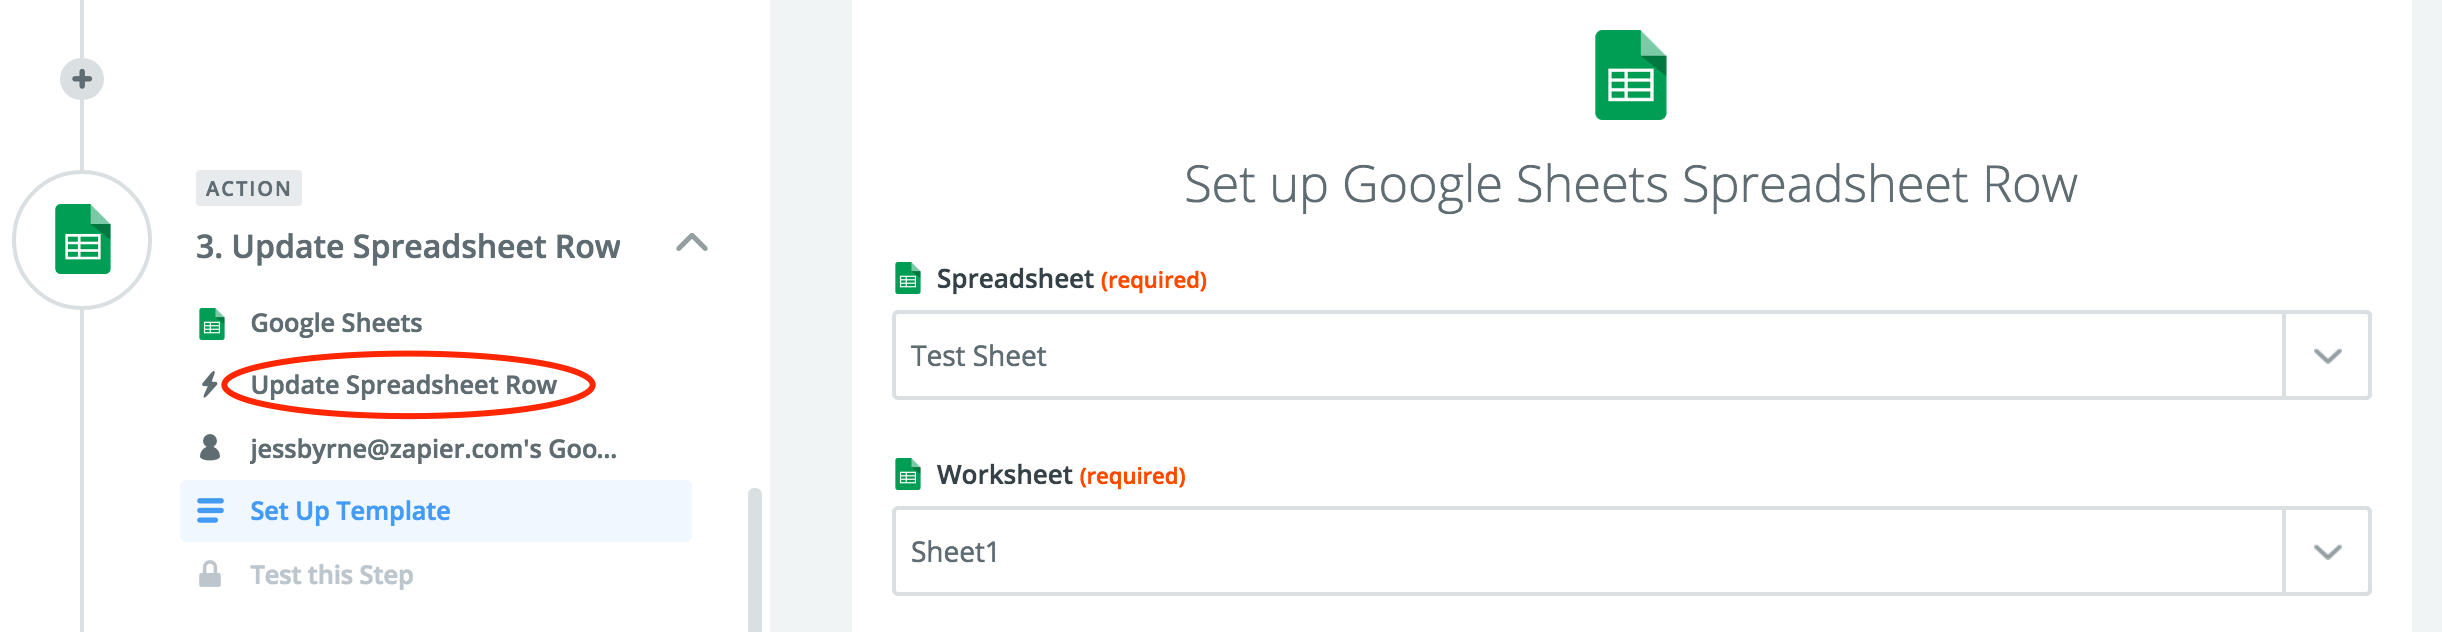
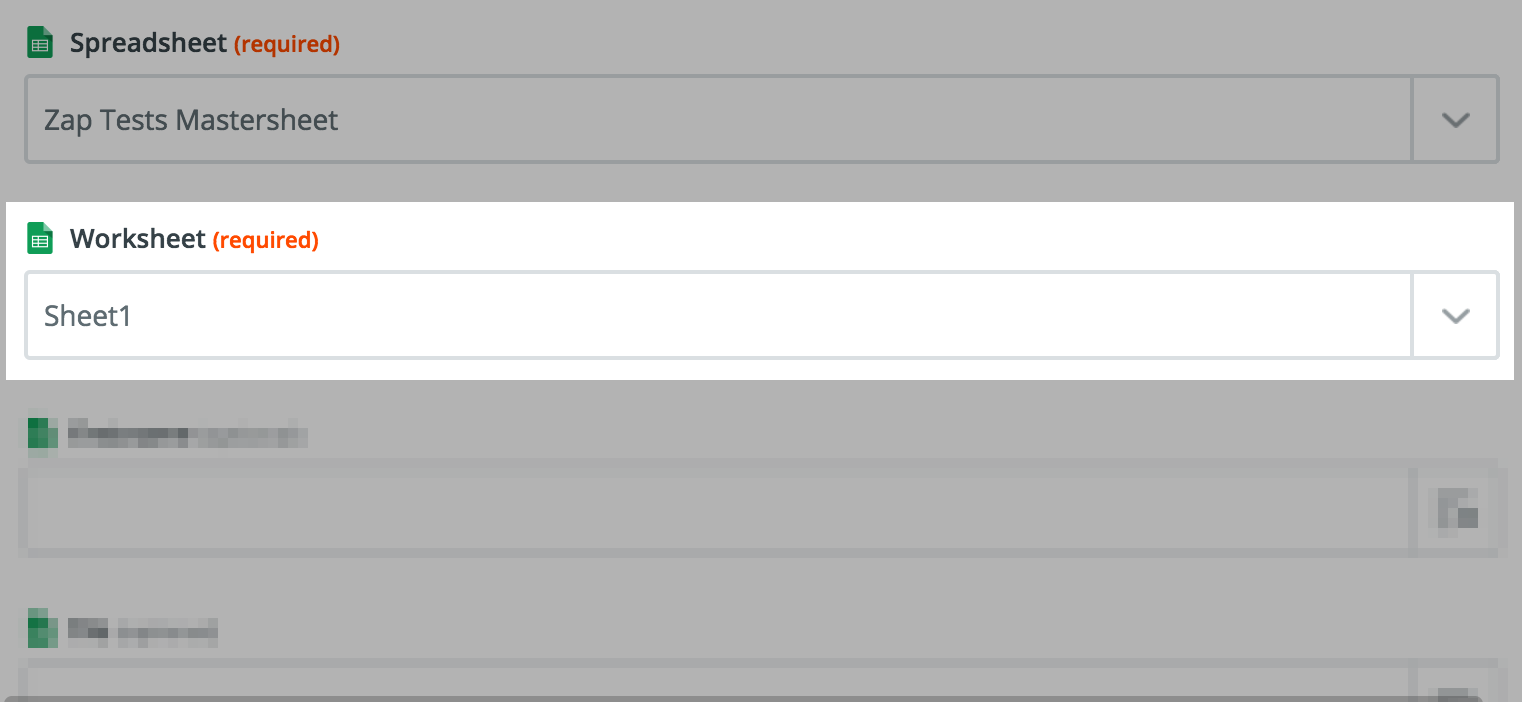
For this next step, you’ll want to again, choose Google Sheets as your app, but this time, choose "Update Spreadsheet Row" as the action. In this step, you’ll want to choose the same Spreadsheet and Worksheet as your previous step.
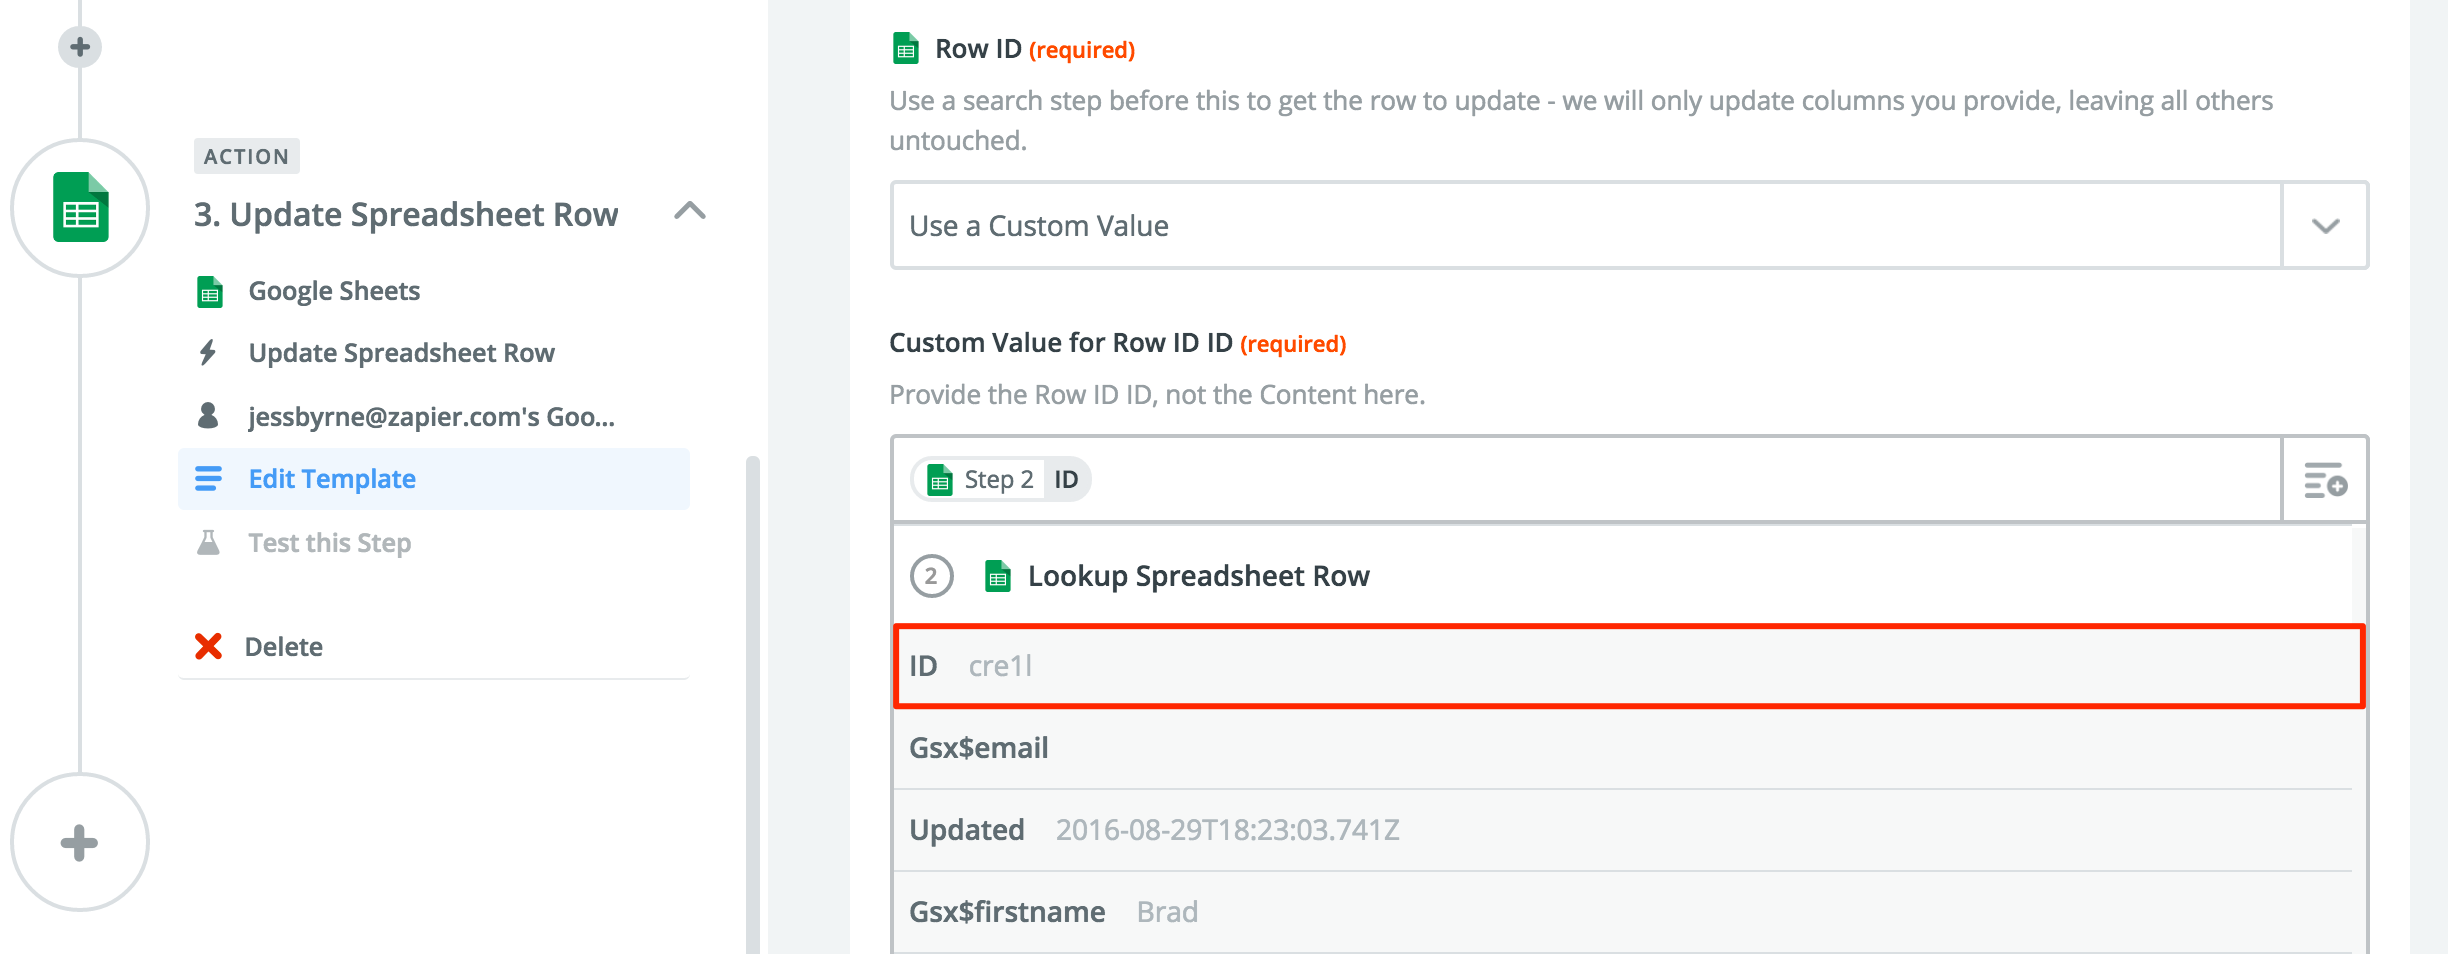
When you get to the “Row ID” field, you will want to choose the row number or ID from the list of options returned from your “Find or Create Row” step. This will allow you to dynamically update rows in your spreadsheet because of the previously added search step.
Under that field, you will want to be sure to fill out any and all fields you wanted to update in your spreadsheet, using the data from your trigger step. The last steps here then are to test your Zap, make sure the row was updated in your spreadsheet, and turn on your Zap.
↑ Was this documentation useful? Yes No (Suggest Edits)
Popular Things To Do With Google Sheets
Common Problems with Google Sheets on Zapier
My Google Sheets Trigger Zap stopped working!
If you're using Google Spreadsheets for the Trigger side of a Zap and it suddenly stopped working, verify that you didn't accidentally insert a blank row anywhere. Zapier interprets a blank row as the end of the spreadsheet.
In addition to this, the following changes to your spreadsheet whilst your Zap is turned on can cause a disconnect with your Zap:
- Deleting existing rows or columns
- Resorting the sheet
If you need to make any of those types of changes to your Google Sheet, you will need to turn your Zap off while you make the change, and then turn it back on again after.
Errors that mention range (cannot parse range, requested writing within range) might be because of a colon in the title of the spreadsheet/worksheet
Are you getting an error that says something like
cannot parse range or something like 400 Error: Requested writing within range ['DO NOT EDIT: Feed via Zapier'!A74], but tried writing to column [B]?
It could be a colon. Colons (:) in spreadsheet and worksheet titles can sometimes cause a Zap to malfunction.
Check both the spreadsheet and worksheet title. In the case of the second error message above, the worksheet had a colon after "DO NOT EDIT." Once the colon was removed, the Zap worked fine.
Renaming Columns or Suddenly Missing Fields
We highly recommend not renaming columns in your spreadsheet after you set it up to work with Zapier once. If you do this we may not be able to match what you had previously done with what your spreadsheet is currently doing! A common symptom of this ailment is when fields suddenly go missing or become empty in Zapier! To resolve this issue, please turn your Zap off from your Dashboard and remap the action in your Zap. Then turn the Zap back on to get back on track.
Extra Triggers from Adding New Columns for Updated Row/Rows trigger too soon
“Updated Row” trigger
If you’re using the “Updated Row” trigger and choose “Any column” to monitor, any change to the row including adding a new row will trigger your Zap. The best time to use this trigger is when you want to look for changes on a specific column in a spreadsheet. For example, triggering when an email address is added so we can add the contact to a mailing list.
However, please note that when you create a row without a value in the trigger column, it will still trigger your Zap since that's seen by Zapier as an 'update' to that cell. You'll want to add a filter to your Zap if you don't want it to run when the trigger column is empty.
"New Row" trigger
If you are using the “New Row” trigger and manually type new data into each new row in your spreadsheet, the Zap may trigger in the middle of entering that data before you get the chance to finish, causing incomplete data to be sent to the following step in your Zap.
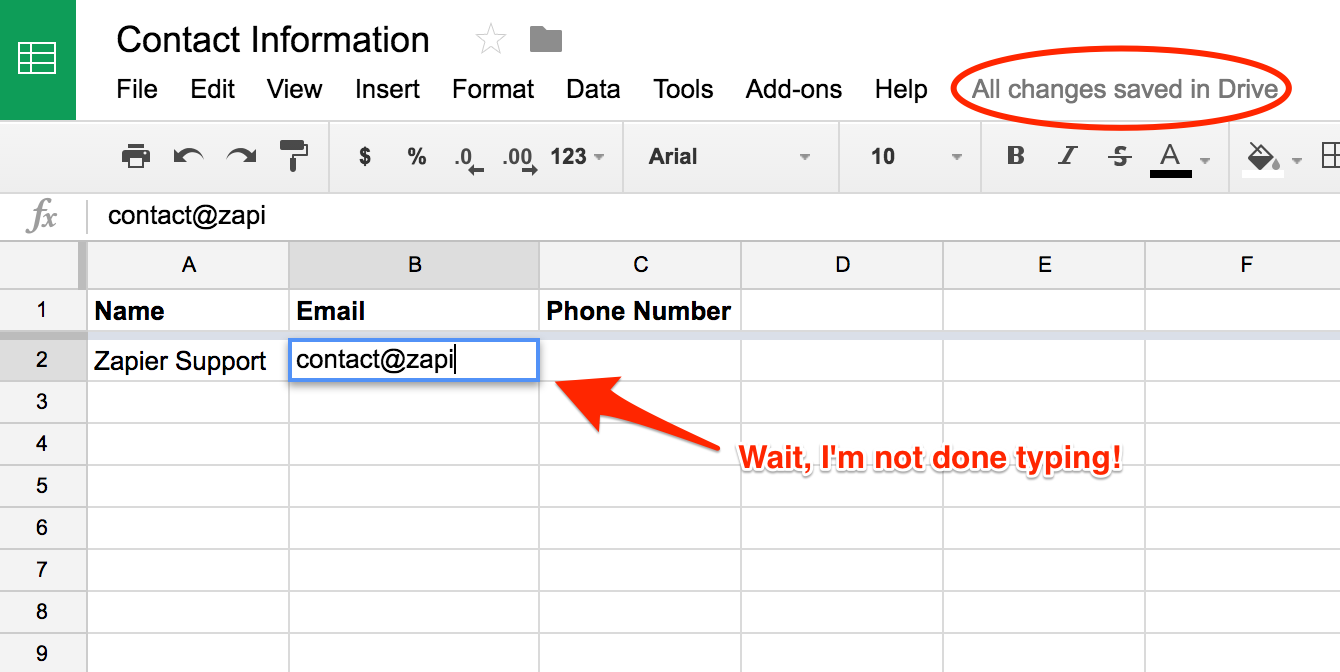
It is best to use the “New Row” trigger when data is being entered into all columns of a row almost simultaneously. This way, we will be able to capture all data entered.
"Updated Row" trigger
If you need to manually type rows in your spreadsheet OR if you’re needing to collect data over time and then trigger your Zap once all data has been entered, you may be best suited using the “Updated Row” trigger.
The best thing to do here is to add a new column to your spreadsheet called something like “Send to Zapier”.
When setting up your Zap, you will then want to choose the “Sent to Zapier” column to monitor. Before testing, go ahead and place an “X” or anything you’d like in that column to trigger the Zap. The test should bring back the data from the row where the “X” was placed.
The Updated Spreadsheet Row trigger stopped triggering!
If you're watching for changes to a column, we only see new values in that column. If you update the column of an existing row to a value that Zapier previously saw in that column in that row, we won't see the new value. You will need to either choose a column that will only have unique values, or make a new one which will.
For example, if you had X in the Trigger column, then changed it to Y, the Zap would trigger. If you then changed it back to X it would not trigger again, because we've already seen X in that column.
Interpreting A Date, Time and Timestamp
We do our best to take things that look like dates or times and convert them to a format that Google Spreadsheet will understand. The currently supported formats are:
- Fri, 14 Jun 2013 14:38:13 +0000 (or -0000)
- Fri, 14 Jun 2013 14:38:13 GMT
- 2013-06-14T14:38:13.000-04:00
- 2013-06-14T14:38:13-04:00
- 2013-06-14T14:38:13.382Z
- 2013-06-14T14:38:13Z
- ts1371220693
Note the final item in the list, you'll need to add a ts to the front of unix timestamps to ensure that they are recognized by us properly. This prevents big numbers from being improperly interpreted as dates or times.
SSLError The read operation timed out
This error can also look like: ExternalHTTPSConnectionPool(host='sheets.googleapis.com', port=443): Read timed out.
The larger your spreadsheet the more likely you are to see this error. Google Spreadsheets have not been optimized for large volume spreadsheets which makes accessing them via the API a challenge. Here are some things to keep in mind:
- The bigger the spreadsheet, the more likely these errors are to crop up. Consider starting a new spreadsheet with less data in it, or maybe moving/deleting any columns your Zap isn't using. If you choose to move/delete rows, make sure the Zap is off while you do this. Once you're done, you can turn it back on.
- If this error pops up with Google Spreadsheets as the Trigger, there is little concern about data loss since the likelihood that Zapier catches data the next time around is quite high. That said, over time these errors will grow more frequent, potentially causing your Zap to be turned off for a high error ratio, and you should reference item 1.
- If this error pops up with Google Spreadsheets as the Action, then there will likely be data loss on the action side. To recover from this, try replaying that specific task from your task history.
In general, Google Spreadsheets API isn't built for the amount of data you're likely trying to push through. If you're considering an alternate solution an app like Airtable, or a database, like MySQL, is a popular next step for many people with this amount of data. If you aren't sure what to do, just send us a message with what you are trying to do and we can help come up with a solution.
Error: Access_token not found inside refresh_token response
If you see this error, it means that your Google Sheets connection somehow failed. To fix this, go to your connected accounts page in Zapier and click reconnect on the failing Google Sheets connection.

My number formatting changes when entered into my spreadsheet
Your Google Spreadsheet can be configured so numbers, dates, times, and different currencies can be recognized differently when entered into a column. If your data isn't coming across how you hoped it would, you might want to try changing the format, which you can learn more about here.
400 Error: Blank rows cannot be written; use delete instead.
If you see this error, then your Zap tried to create a completely blank row in the spreadsheet. Some common reasons (and solutions) for this:
- No trigger fields matched to the columns on the spreadsheet. Add trigger fields or other data into the Action Fields.
- Testing the Zap, but using a sample trigger that was blank. Some apps provide a default sample for field matching, but the data is blank. Add a new item (for example, fill out a new form entry with all the fields filled in) and use that for testing, instead of the blank default entry.
404 Not Found Error
If you see this error in a zap, try re-selecting your 'Worksheet' and 'Spreadsheet' in your zap. If that does not help, be sure to let us know.
400 Bad Request
If you see this error in a zap, check to see if your spreadsheet is locked or has "protection" on. This prevents Zapier from being able to write to the sheet, so you'll need to unlock it.
I'm trying to clear out a cell in a spreadsheet using the Update Spreadsheet Row action but the data stays the same
Unfortunately the Update Spreadsheet Row action won't clear out fields. If you have text in a cell and you want to replace it, you'll need to send something along, like a dash or a formula that will result in a blank cell, in order to update it. If a field is blank, we don't send anything.
An example of formula that you can send along is: =iferror("",""). This will overwrite whatever is in the cell but result in the cell looking like it's blank.
Rows are being added below rows with formulas
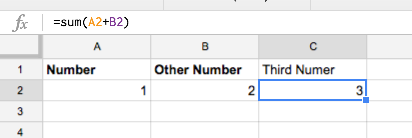
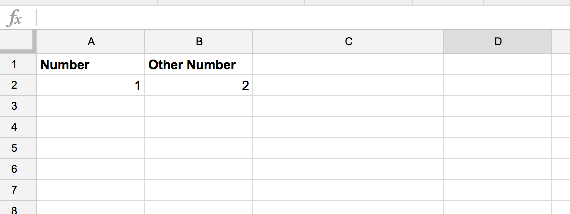
If you use the Create Spreadsheet row action, rows will be added to the first blank line that Zapier sees. If a row has a formula in it, it's not considered blank and will be skipped. If the formula is referencing all data from within the row, you can build the formula directly into the Zap. For example, your spreadsheet looks like this:
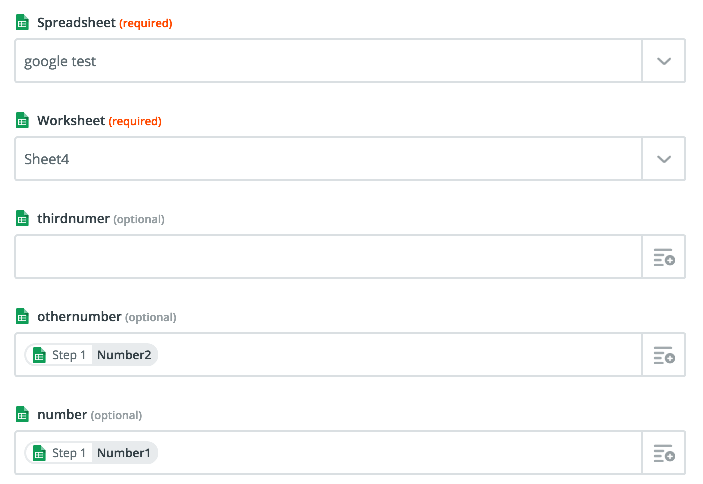
Instead of having the pre-filled formula in the sheet and mapping my fields like this:
You can instead include the formula in the Zap like this:
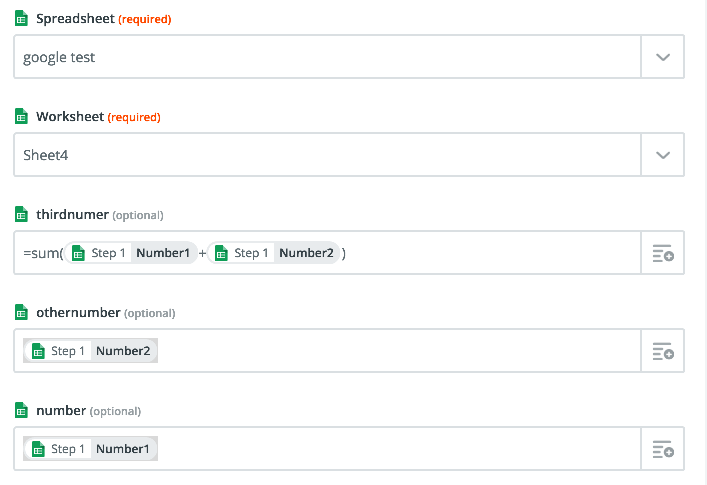
You can use any formulas that are available in Google Sheets in your Zap, provided all the variables in the formula are going to be available in the Zap.
If, however, all the variables in the formula aren't going to be available in the Zap, then this won't work. For example, lets say you have a sheet that looks like this where the Zap will populate the "Number" and "Other Number" columns but there is a manual step to populate the third column. The "Total" column needs to add up all three:
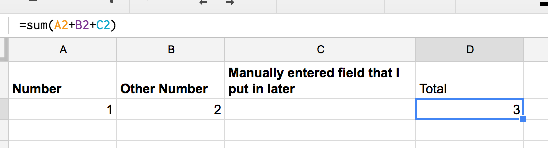
In that case, you can't reference
C2 in the Zap because that data will be manually added later to the sheet. In this case, you should create a new worksheet on the same spreadsheet and use the =IMPORTRANGEformula. This will result in one sheet that is connected to the Zap and another sheet that imports data from the original sheet. This second sheet can have formulas, it can be sorted, fitlered, etc and not mess with the Zap.
So your sheet connected to the Zap will look like this. For the purposes of this explanation, let's refer to this as "Zap Sheet":
Create another sheet on that same spreadsheet will look like this. We'll refer to this as "Imported Sheet":
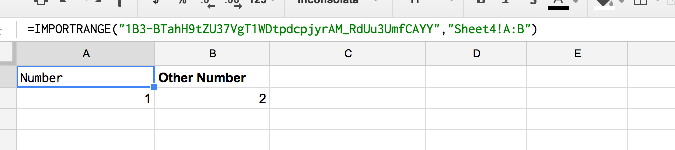
Notice that cell A1 on the Imported Sheet has the following formula
=IMPORTRANGE("1B3-BTahH9tZU37VgT1WDtpdcpjyrAM_RdUu3UmfCAYY","Sheet4!A:B"). This pulls in columns A through B from the ZapSheet. Then you can add the additional columns you want and pre-fill any formulas: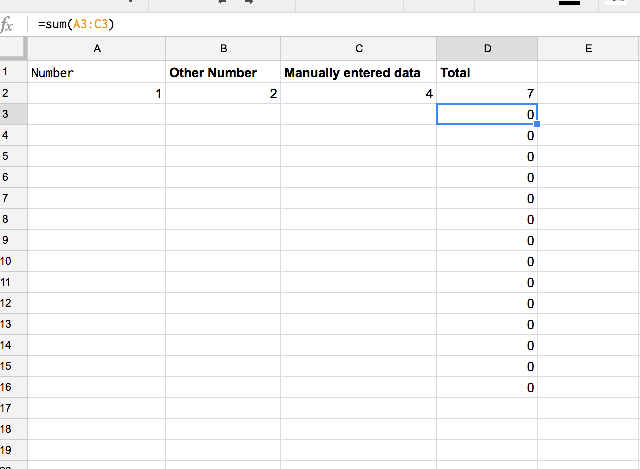
When the Zap runs, it'll populate the Zap Sheet. The Imported Sheet should update based on the values in the Zap Sheet, but your other formulas will work as needed.
Column names don't match the actual column header on the sheet
If you find that the columns look like this in your action:
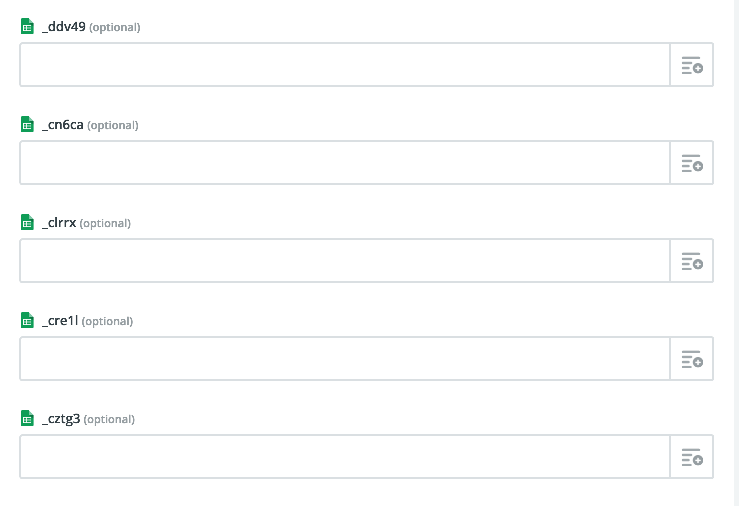
This is likely because you have a blank first row in your sheet. You'll want to delete the blank row, then reselect the Spreadsheet and Worksheet in your action, and the column names should refresh to match your spreadsheet. You can find more info on how to correctly format your sheet here.
I don't understand how/when to use Create Spreadsheet Row(s) (with line item support)
You should use it only when your trigger provides line items, and note that:
- If one of the line items is missing a value that others have, we create a row with a blank value in that cell
- If you map a non-line item field from the trigger, we duplicate it for every row added
If your trigger doesn't provide line items, don't use this action, use Create Spreadsheet Row instead.
Error: "Invalid query parameter value for grid_id"
This error usually means there's a problem with the Worksheet.
In almost all cases, re-selecting the Worksheet fixes this issue.
Some common reasons why you might see this error:
- A different Spreadsheet was chosen without choosing a new Worksheet.
- The Worksheet was deleted or moved.
- The Worksheet is set to a custom value. Unlike most other fields, it's unfortunately not possible to set a Worksheet field to a custom value.
My date is coming through incorrectly
If your date is showing up as a five-digit number, or five digits, then a decimal, then five digits, it's due to the date formatting in Google Sheets (or Excel, or Numbers, etc.). It may look like this:

To avoid this, format your column to another date format.
Sharing a Google Sheet with Zapier Support
Sometimes troubleshooting Zaps involving Google Sheets required Zapier support to have access to the Google Sheet. While your Zap is being investigated this requires sharing the Google Sheet with our team. The best way is to set the Google Sheet available to anyone with the link so that anyone on our team can help. Here's how to do this:
- Open a file in Google Docs, Sheets, or Slides.
- In the top right corner, click Share.
- Click Get shareable link in the top right of the "Share with others" box.

- To choose whether a person can view, comment, or edit the file, click the Down arrow next to "Anyone with the link" . Usually, we'll ask for a link with read-only access. Please choose "view"

- Finally, press the Copy Link button, and a file link will be copied to your clipboard. Paste the link in an email or anywhere you want to share it.
↑ Was this documentation useful? Yes No (Suggest Edits)
No comments:
Post a Comment